|
KnockBOX™ SA Instructions:
The KnockBOX™ SA is a complete stand-alone system capable of displaying Knock, Timing, and O2, direct from the ECU.
The KnockBOX™ SA comes with three pieces:
- One - KnockBOX™
- One - 2 prong power cable
- One - 6 prong master cable
Installation:
Slave Cable:

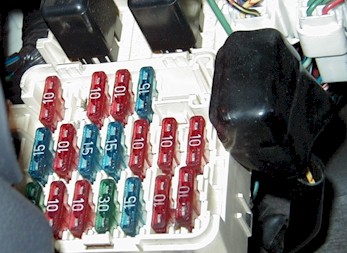
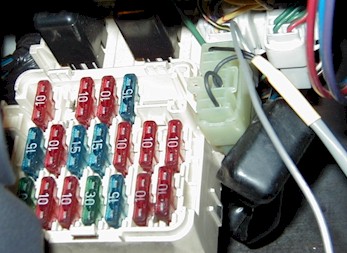
Locate the fuse box near the driver's side kick panel. In the upper right hand corner of the fuse box, you will see a black boot covering a connector. Remove this boot by peeling it left to right. Under the boot, you will find the diagnostic connector.
|

Plug the Slave cable into the connector. It should snap into place. This is a locking connector. It will not fall out. To remove the cable, *first* fully depress the tab on the left side of the connector, and then gently pull the connector out.
|
Connect the 6 prong connector (located at the other end of the cable) into the back of the KnockBOX™.
Power Cable:
Connect the red power lead to any ignition-controlled power source.
Connect the black ground to any suitable chassis ground.
Connect the 2 prong connector (located on the opposite end of the exposed red/black wires) to the back of the KnockBOX™.
The KnockBOX™ is now ready.
Operation:
Upon powerup, the KnockBOX will go through a brief self-test. It will then display "X.XX YY YY" where X is the firmware version number and Y is either blank or "30 00" if your KnockBOX is for a 3000GT/Stealth.
Once the self-test is complete, the screen should go to all dashes. This indicates that there is no communication. Within 5 seconds, numbers should come up on the display. If they do not, check to make sure the master cable is connected properly.
|

